This is one of my all time favorite DIY projects for the garden. String lights are so popular right now, especially for those who are trying to make their outdoor spaces more beautiful. But oh my have I seen some BAD ideas for how to do this. So many people fill small buckets with concrete only to see the poles and lights fall over in the slightest wind. Or others fill giant buckets with sand, which hold the poles up better, but are kind of ugly and very hard to move.
Here is an elegant solution that makes putting up your poles and lights easy and then hides the mechanics when you don’t want them up anymore. I purchased my supplies at Lowe’s Home Improvement (I am not sponsored by them; it’s just one of the places I shop) but you can buy these items in lots of places.
You’ll need these items (ask around before you buy – someone might have this stuff sitting in a garage in your neighborhood!)
- 1 inch by 8 feet metal conduit (poles). You decide how many you’ll need based on where you are stringing your lights (for my project I used 4 of these)
- Threaded 1 inch eye hooks with nut
- One PVC pipe, 1.5 inch circumference and at least 12 – 16 inches for each pole you are using. I needed 4 feet for the 4 poles for my project. Cut them into equal sections, one for each pole.
- 4 PVC caps for 1.5 inch PVC
- Spray paint in your desired color. I used black, but some people prefer white, grey or dark green, which hides nicely in areas with lots of trees and shrubs. See if you can get spray paint from someone – so many people have several cans they don’t plan on using. It will save you money and put once less can in the landfill.
- One bag of 1 inch gravel (optional, but a good idea)
- A power drill and a standard drill bit that is made for metal (most drill bit kits come with one of these). Again, borrow if you don’t have one. Or you can buy one here: This is the one I use – good quality and reliable!
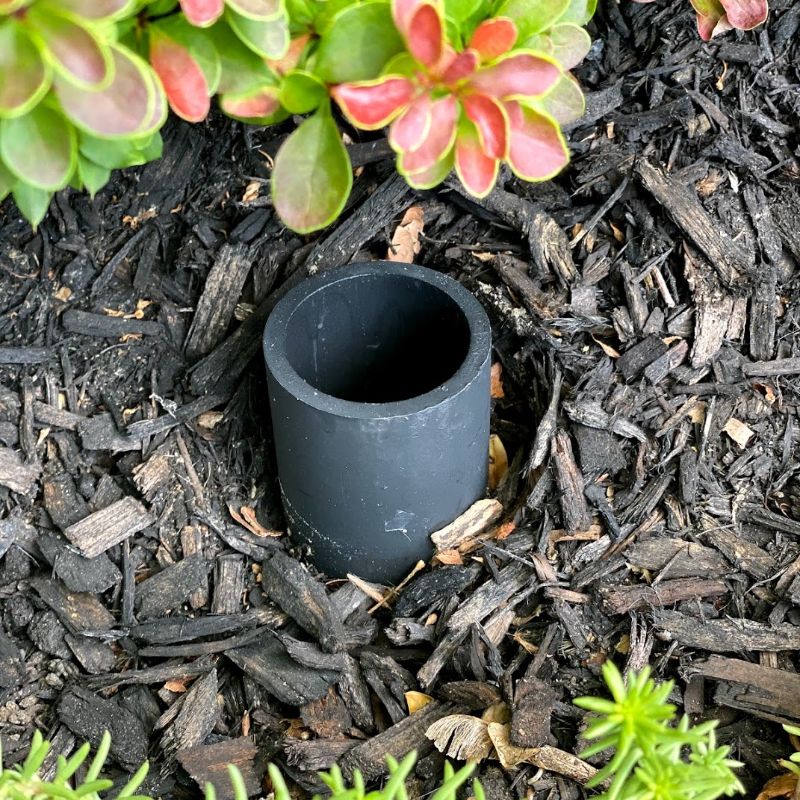
To begin your project, determine where you want your support poles and dig a hole about 12 – 16 inches deep. I used a post hole digger but you can use a shovel as well. Place your cut PVC pipe in the hole leaving about an inch above ground level and back fill the hole. You can use a little gravel around the hole of you feel like your soil is sandy or loose.

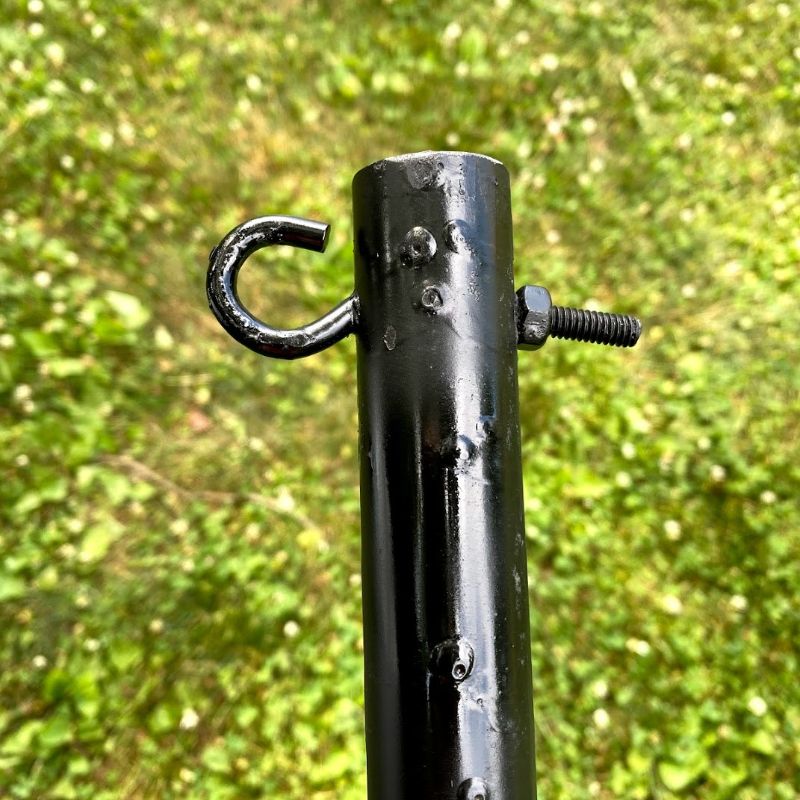
Using your metal drill bit, drill a hole through the top of each metal pole, about one inch from the top. Drill it straight through going in one side and coming out the opposite side. Fit your screw eye in the hole and thread the nut on tight to keep it in place.

Next, spray the pole from top to bottom, including the screw eye. Spray the PVC cap and this top of the PVC pipe that is sticking out of the ground.
Hey – you are ready to put up those string lights! Hook your lights to the screw eye (most screw eyes are a little bit open and look more like a hook than a complete circle, but if not, use some pliers to open it a little more. Then sink your poles and plug in your lights! It’s so easy and you won’t even need to drag the ladder out to put them up.

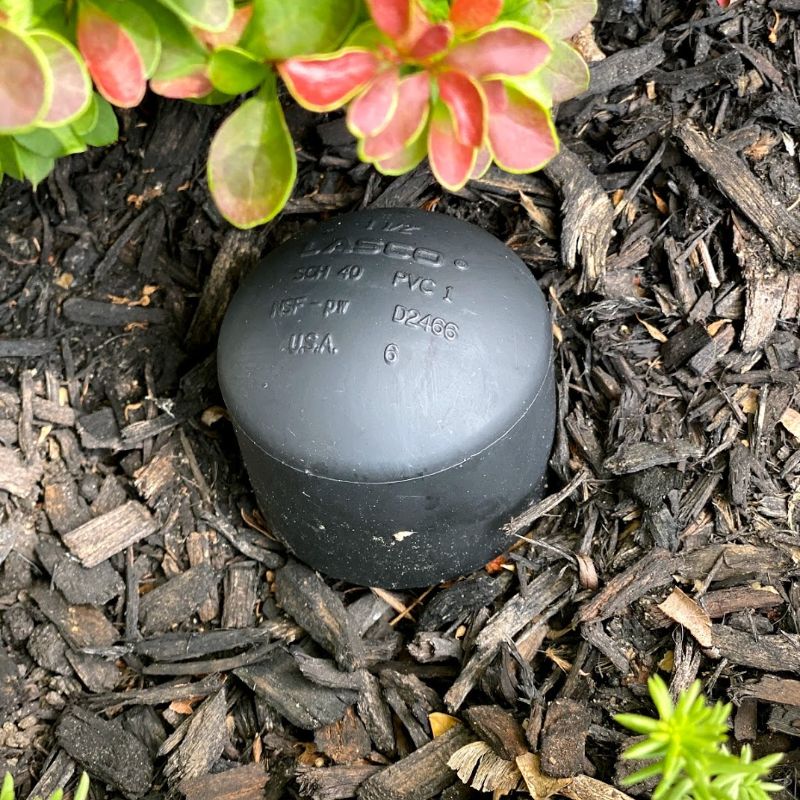
After your party, or at the end of the season, just pull out the poles and store them along with the lights in your basement or garage. Then pop the caps on the PVC pipes and cover with a little dirt or mulch. They will disappear immediately. It’s such an easy and elegant solution. Give it a try!

